The phone holder
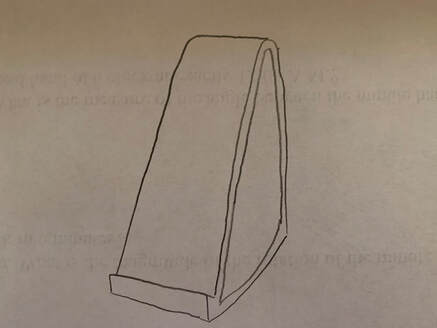
For our individual 3D print we were given a few options on what we could design and print. The option I chose was a phone holder because I think I would actually use it a lot. The most difficult part about coming up with the design was making sure that the print would fit in a 5x5x5 cube so it would be small enough to be printed. I came up with the idea to just have a base with a slant to keep my phone at an angle to keep it small enough.
Creation
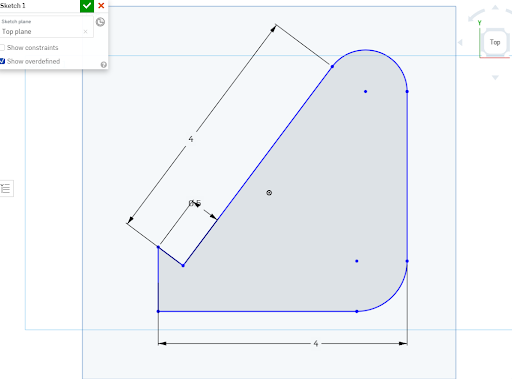
To create this design I first had to make a sketch of the face that would touch the build plate and extrude it.
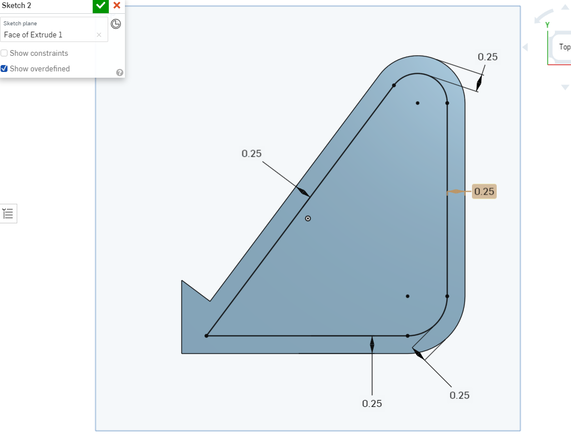
I next had to sketch a hole to cut out on the face and extrude it to remove the material to the build plate.
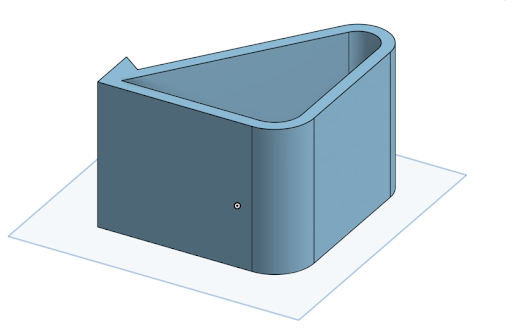
After that my design was ready to be put into MakerBot and printed on a 3D printer.
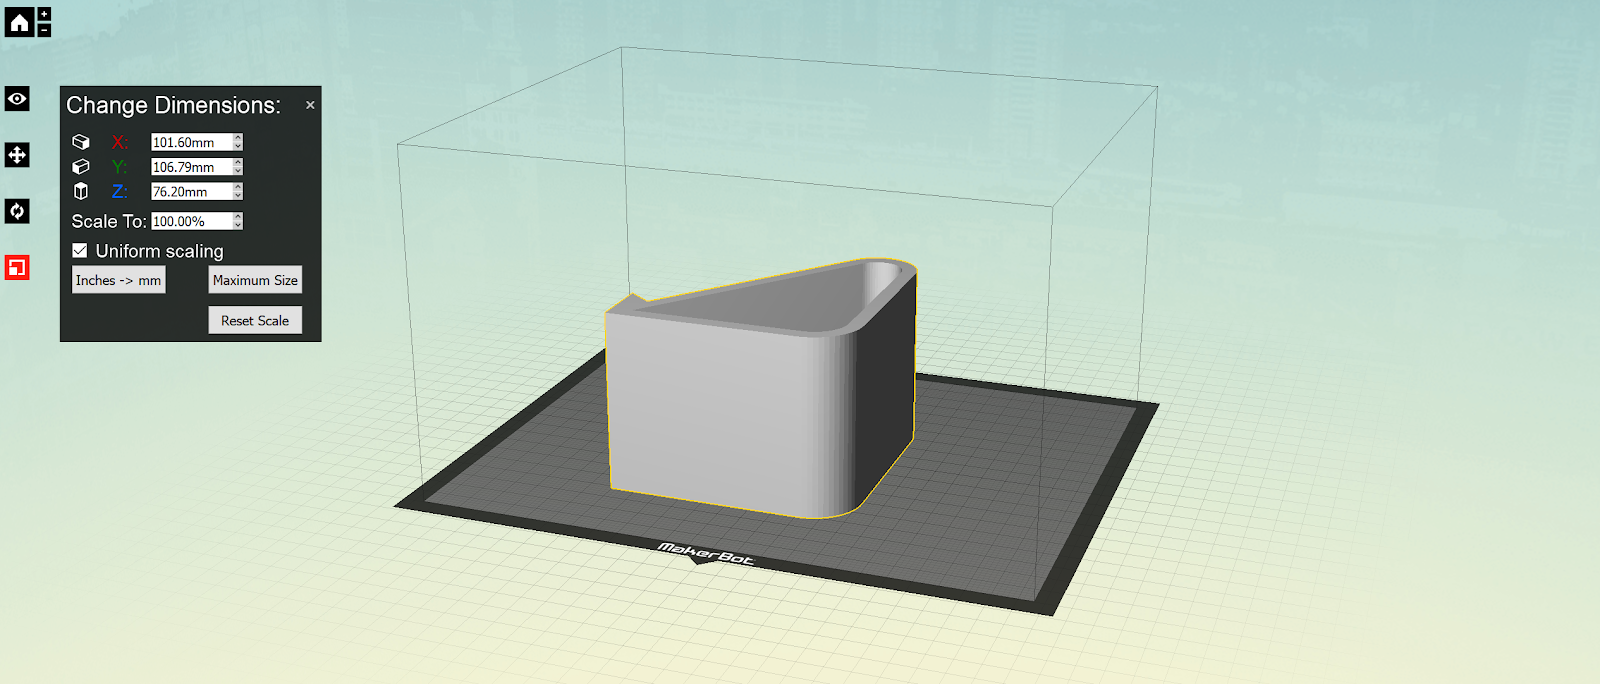
Now that my design was finished I needed to put the file into MakerBot so I could get it ready to print. The most important thing I had to do was to resize my design to make sure that it had the correct size that was intended.
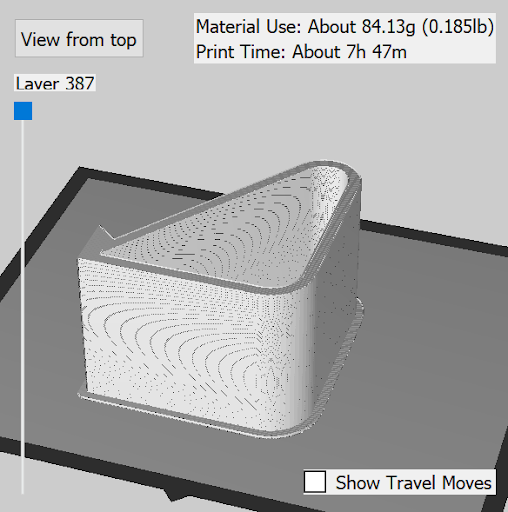
Finally I had to preview my print to make sure that it was ready and my design process was done.
Summary
In the individual 3d print I learned a lot about 3d printing. I learned how to make sure that a print is the right size so it can do what it is intended to do. I also learned that designing an object to be printed can be quick and easy if you plan it out before hand and have the skills required to make the design. And the final thing I learned while making this 3d print was that keeping an object simple can make 3d printing a lot easier. 3d printing complex objects will have a more difficult time printing and they are less likely to turn out.
