The Project
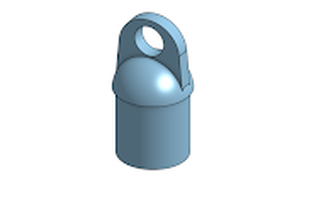
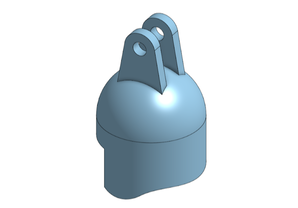
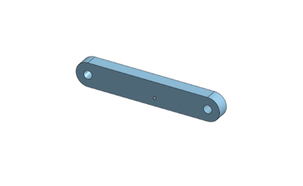
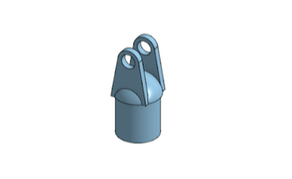
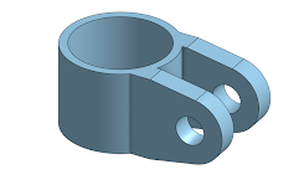
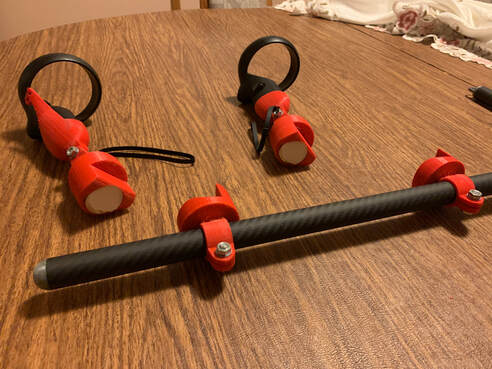
Right away on the first day of class we were given our biggest and most time consuming project of the year. We were told to design and create something that we want using 3 of the machines in the innovation center. The project could be as simple as a little table weight to a complex machine to do difficult tasks. When coming up with with what I wanted to make for my project, I decided I wanted to make something that I would actually use at home to make things easier for me and make me more happy. I decided to make a controller holder for my virtual reality controllers so when I was playing first person shooter games it would make it more realistic.
|

|
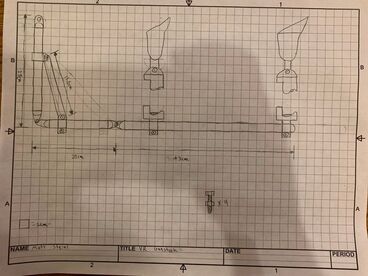
Designing
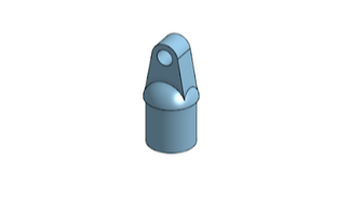
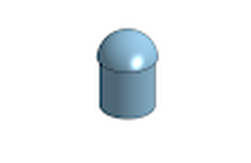
Once I finished designing I had 11 parts to make. Out of the 11 pars 9 of them would be 3D printed, 1 of them would be CNC Milled, and 1 of them would be cut out of vinyl on a vinyl cutter. The designing only took me about a week because none of the parts were overly complicated and I flew through them pretty quickly once I knew how I wanted my project to function. There was one part, however, that would have been nearly impossible to print with the tools I had because it had to perfectly fit with the controllers I had. To fix this problem I found a file for a part online that I could modify in Tinkercad and use for my project.
|
Link to online design file: https://www.thingiverse.com/thing:3652161/files
|
|
Creating the Project
To make my project, I was required to use three machines in the innovation center. I decided to use the 3D printer, the vinyl cutter, and the CNC machine
The 3D Printer
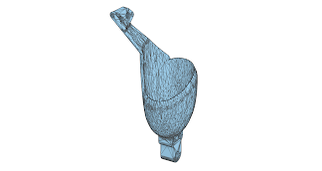
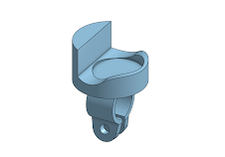
Once all my parts were designed, I had to start making them. The first parts I started making were the 3D printed ones. I had a lot of trouble getting them to print correctly because I had so many parts that the chance of the printer making a mistake was really high. I had to split the parts up into several prints to get them to all work correctly.
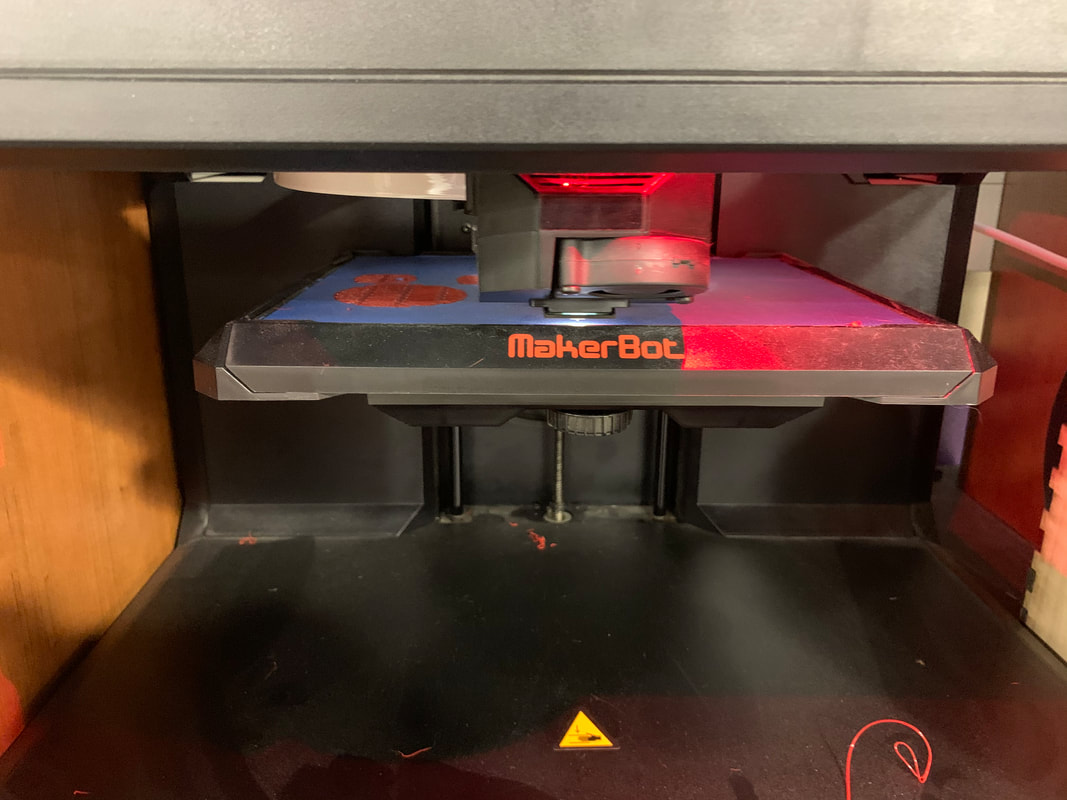
|
|

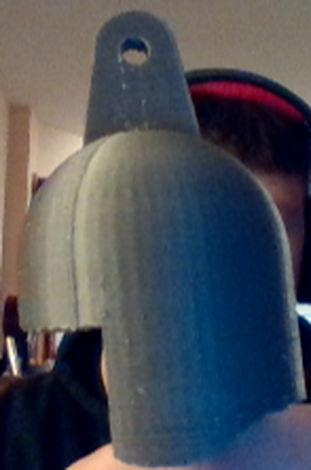
These are a few parts that failed while printing.
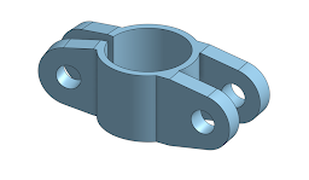
The CNC Machine
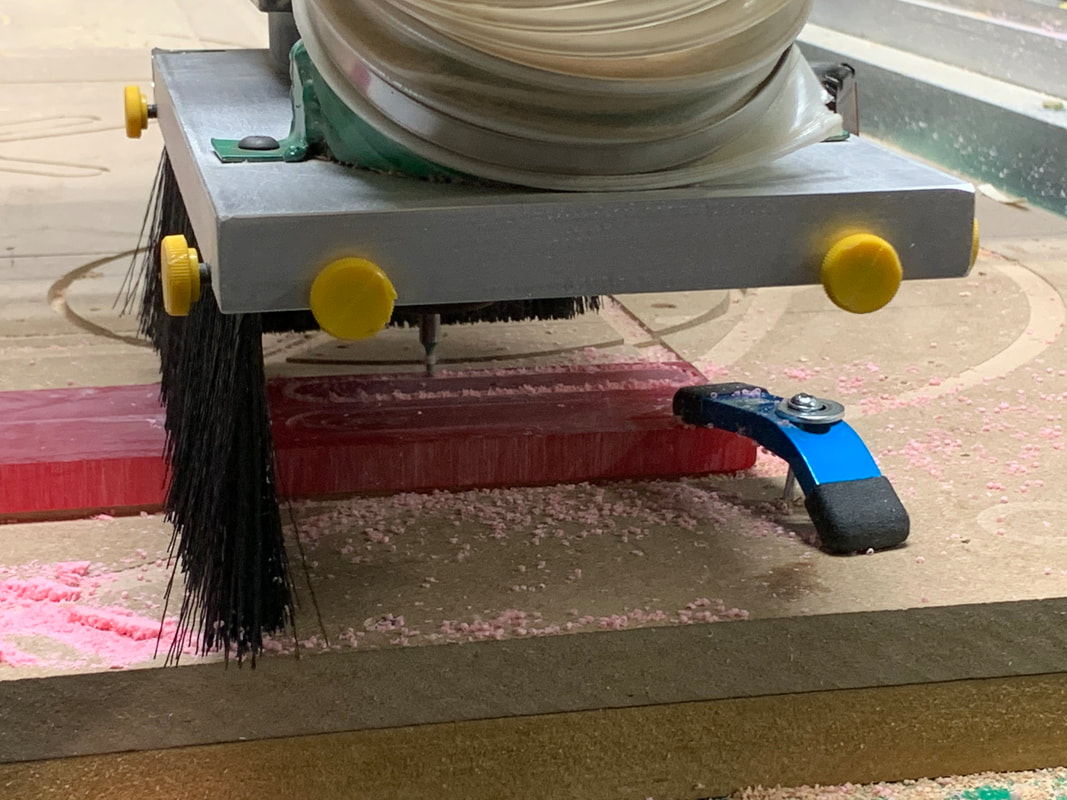
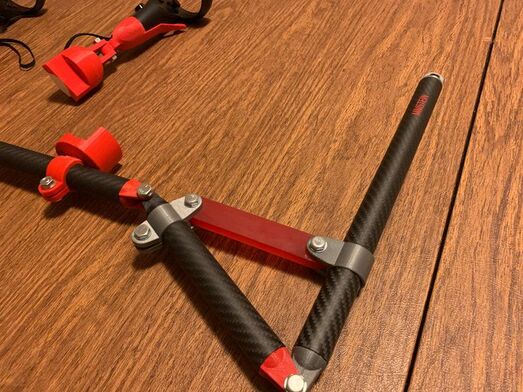
The next part I was going to make was a brace for my project and I used the CNC machine to make it. The part was pretty simple and it only took a few minutes to finish cutting, and after it was done, all I had to do was sand it a little and it was ready to use in my project.
|
|
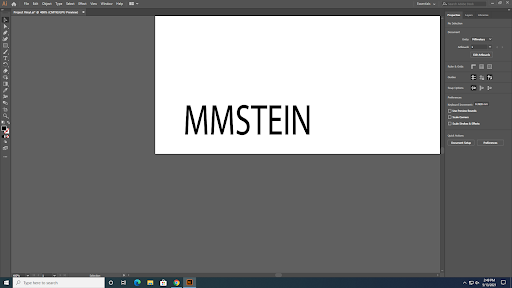
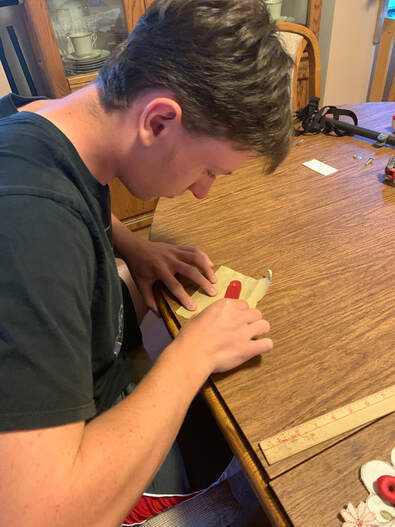
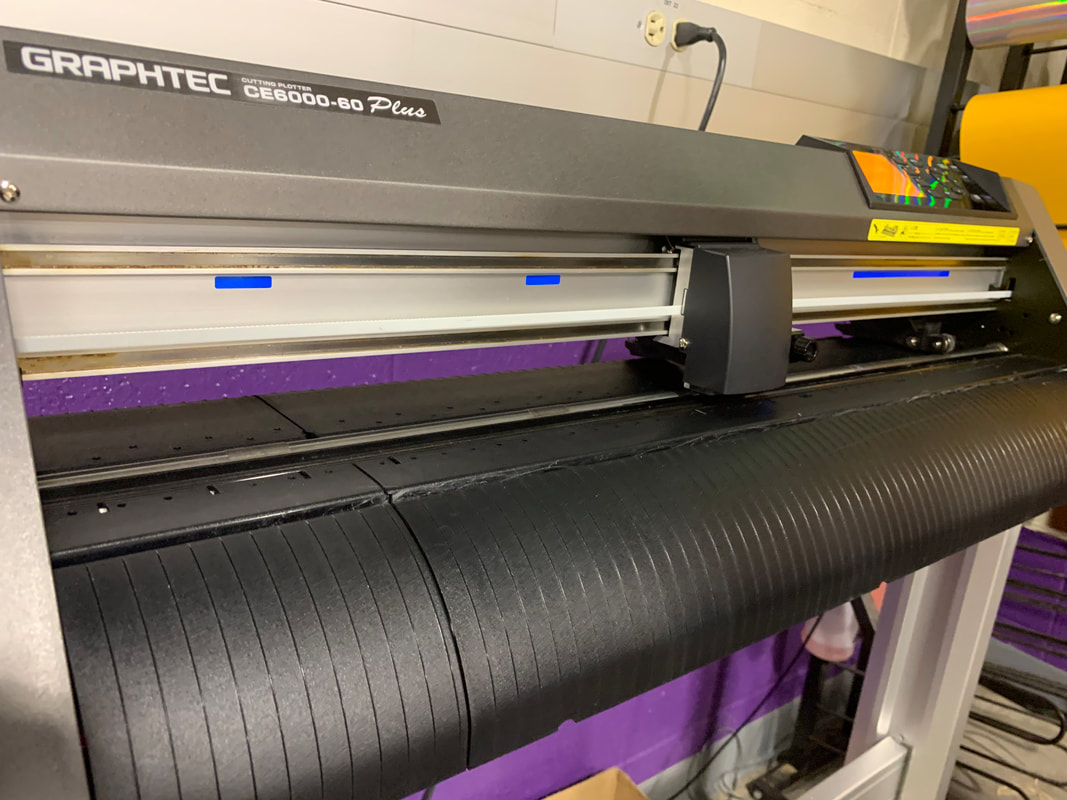
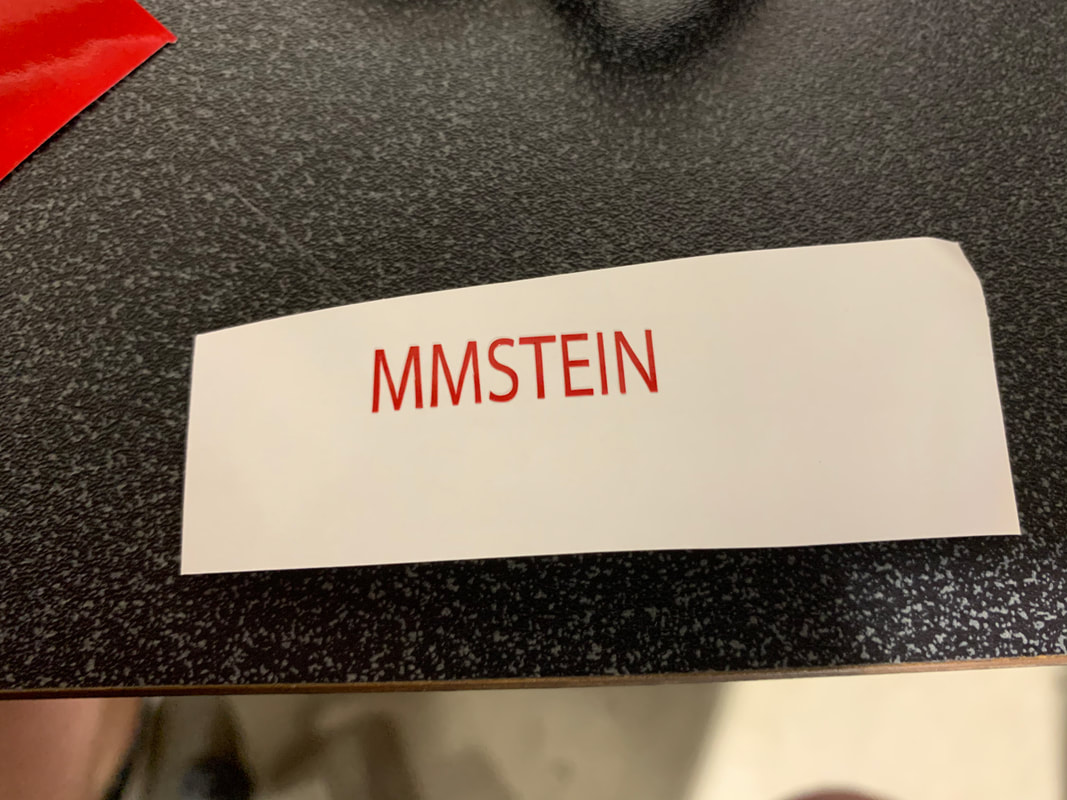
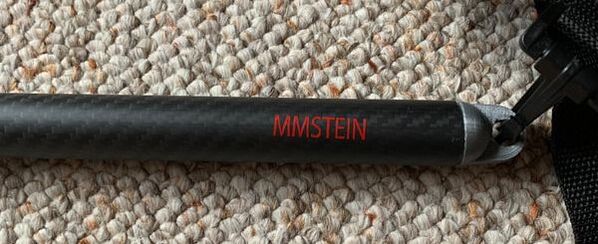
The vinyl Cutter
The final part I needed to finish my project was the vinyl and I kept it very simple. In Adobe Illustrator, I made a very simple design with only my gamer tag on a page so I could cut it out. Once I put the file into the vinyl cutter, it took only seconds to cut and then all I had to do was put the vinyl on my project. The vinyl part I made was by far the easiest and fastest part out of all the parts I made.
|
|
|
|
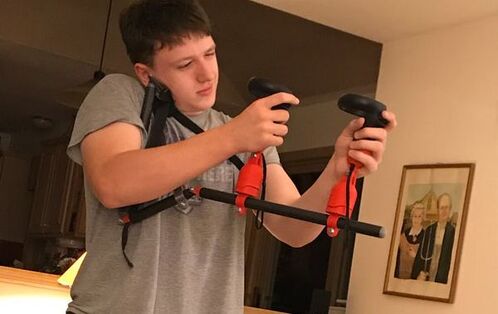
The Finished Product
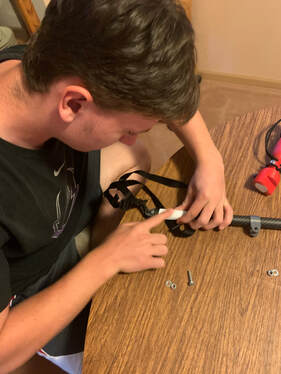
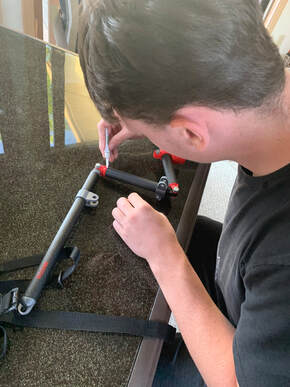
Once I had all my parts made, all I had to do was put them all together and my project was finished. There was very little gluing and the assembling was very simple. Most of the assembling was just putting parts in slots and bolting them together.
|
|
After I finished my final project I realized that I had learned a lot over the past few months. One of the most important things I learned was that when you build something, you should always make your parts way stronger than they need to be. The 3D printed parts I made for my projects kept breaking on me because I didn't make them thick enough and dense enough and that made me waste a lot of time and material. Another thing I learned is that you should always build things in a way that you can make changes to them later. When I was making my project I had to do a lot of redesigning on my parts to make them function as well as I hoped while still staying strong. Making sure your builds and projects have enough room inside them to make changes is very important or instead of just having to change parts, if you don't give yourself room to make changes, you'll have to start the entire project over.
